
March 31, 2026/
If you`re a homeowner, you recognize that sudden damages can show up at any time. One not unusual trouble is...

If you`re a homeowner, you recognize that sudden damages can show up at any time. One not unusual trouble is...
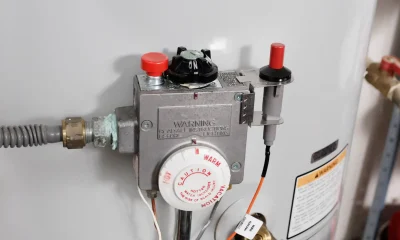
Do you ever notice a lasting gas smell when turning on your gas heater? Gas heater smell can be both...
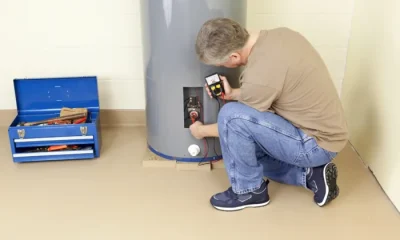
Your water heater works quietly withinside the history each day. You don`t reflect onconsideration on it—till some thing feels off....
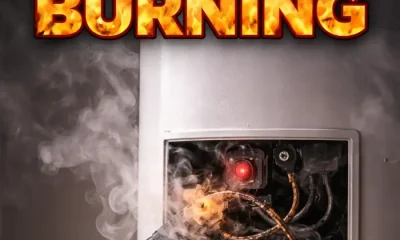
If your water heater smells like burning, it`s now no longer some thing you ought to ignore. A burning smell...

Water warmers are one of the maximum essential home equipment on your home — however they`re additionally one of the...
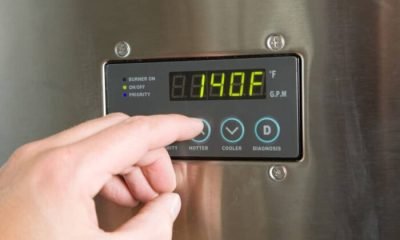
Knowing what temperature to set water heater is vital for family comfort, electricity performance, and protection. Many house owners expect...

When you switch on the faucet awaiting heat water and are met with an icy surprise, it`s greater than simply...
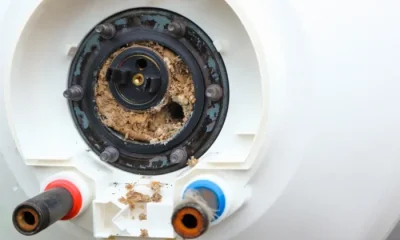
Many owners in the end ask what does water heater sediment look like once they note cloudy warm water, peculiar...

If you`re retaining your home`s plumbing device or noticing rust, cloudy water, or uncommon odors, you’ll be asking does gas...

Understanding how much energy does a water heater use is crucial for owners who need to control software bills, enhance...