April 1, 2026/
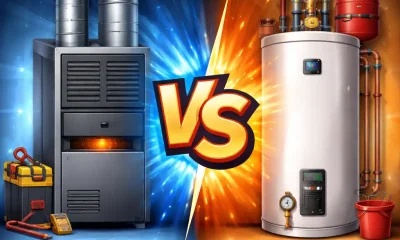
When it is about house heating, there`s frequently confusion about the different terms of systems . You may know the...

When it is about house heating, there`s frequently confusion about the different terms of systems . You may know the...
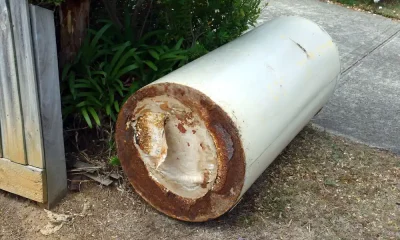
Water Heaters serve a crucial function in maintaining warm water flowing via your home, however even the advanced dependable unit...
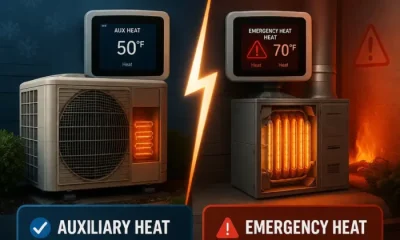
If you’ve got ever adjusted your thermostat and visible alternatives like AUX or EM heat, you can marvel approximately auxiliary...
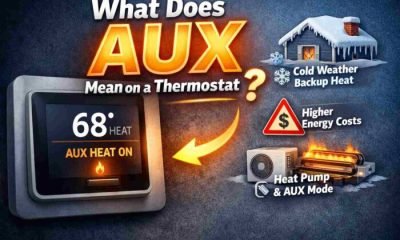
If you`ve ever observed the “AUX” word on display of your thermostat, you may have questioned what is it and...

A well functioning thermostat allows your own home to be comfortable without overheating or overcooling. When the gadget that shows...

You`ve packed your luggage and are prepared to move out the door for a trip. Pause there: This is the...

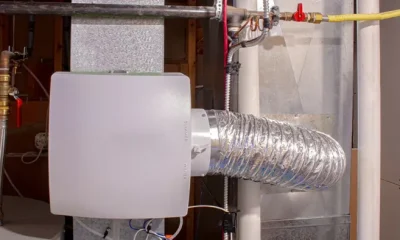
Heat pumps are famous cause they offer in efficient manner to heat and cold your home. A heat pump makes...
To a few people, understanding the distinction among a fueloline furnace and electric powered furnace is not something unusual knowledge;...

When house owners ask, what’ is forced air heating? it`s generally due to the fact they`ve heard this term however aren`t...

A heat pump could make lifestyles comfortable when temperatures drop… however how do you already know whilst you may not...