February 9, 2026/
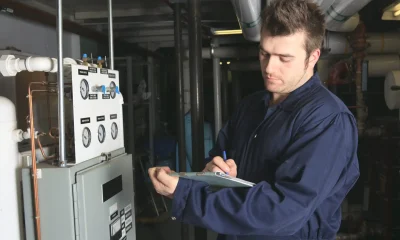
One of the primary questions owners ask while making plans a heating improve is how long does it take to...

One of the primary questions owners ask while making plans a heating improve is how long does it take to...
When house owners in Temecula and Murrieta recall upgrading their heating and cooling structures, one of the maximum not unusualplace...

Many house owners ask what is static pressure in HVAC after they be aware airflow problems, choppy temperatures, or sudden...
Homeowners thinking about a gasoline-primarily based totally heating machine regularly ask how much does a propane furnace cost and whether...

When house owners in Temecula and Murrieta examine present day heating alternatives, the query of modulating vs 2 stage furnace...
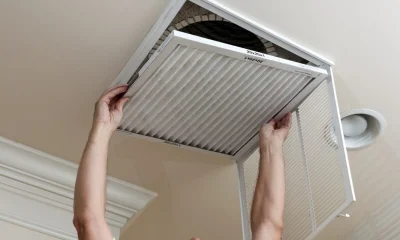
Understanding the signs and symptoms of dirty air filter in home is important for preserving healthful indoor air first-class and...

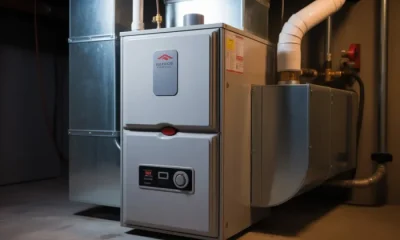
Many owners ask what is a modulating furnace whilst getting to know high-performance heating structures for constant consolation and decrease...

When your furnace abruptly stops working, blows bloodless air, or refuses to show on, one of the first questions owners...
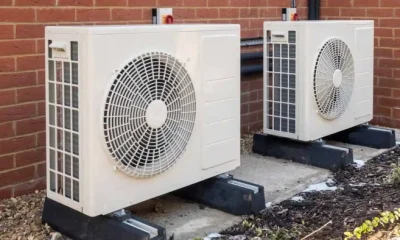
When looking for a brand new air con gadget or upgrading an older unit, one of the maximum not unusualplace...

As an HVAC system is essential for making the home environment comfortable. It is also important for commercial purposes whether...