
October 1, 2025/
No Comments
Why is my AC not working? It’s a question no one wants to ask especially during a heatwave. Few things...

Why is my AC not working? It’s a question no one wants to ask especially during a heatwave. Few things...
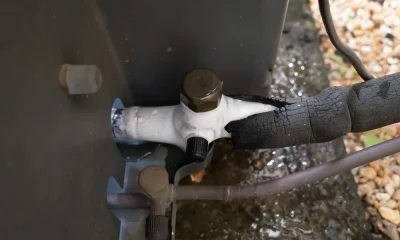
Why AC compressor connected to pipe icing up is a common issue that many homeowners face, especially during heavy AC...
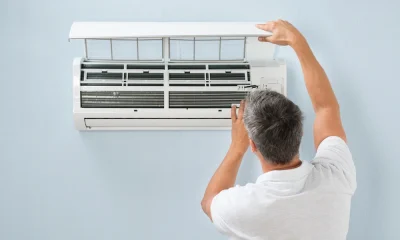
How to clean AC filter – it’s one of the simplest yet most important tasks to keep your air conditioner...
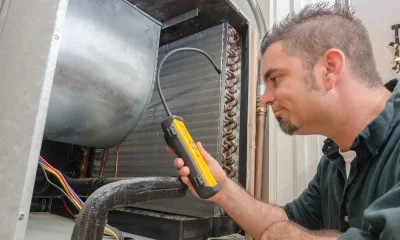
How to clean a coil on AC is a key part of maintaining your air conditioning system and ensuring it...

When it comes to keeping your home warm in winter and comfortable in summer, the choice often comes down to...
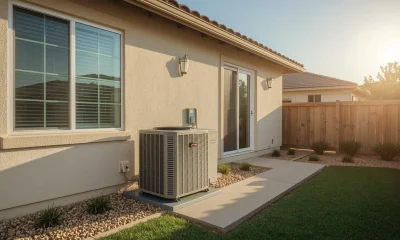
Electric heat pumps are necessary for maintaining home comfort, providing efficient heating and cooling year-round. However, like any system, they...
Let me give you short answer of your question about “What is short cycling AC?” Short cycling is when an...

The cost of replacing the HVAC system in a home is usually between $5,000 and $15,000.. For bigger homes or...

Wondering “How often should AC be serviced?” The simple answer is to have it professionally inspected at least once a...

If you ask why does my ac smell musty it usually means moisture and organic matter are building up inside...