October 29, 2025/
No Comments
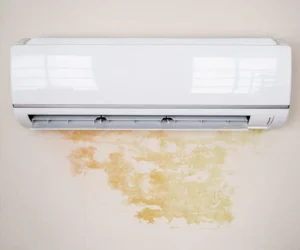
When summer temperatures rise, most owners activate their air conditioners to stay cool. But past cooling, many humans wonder —...

When summer temperatures rise, most owners activate their air conditioners to stay cool. But past cooling, many humans wonder —...
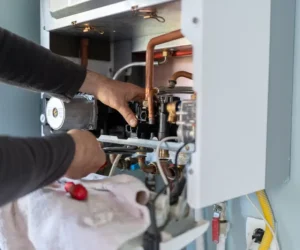
A heating domestic is vital throughout winter; however, what in case your furnace all of a once begins blowing cold...

If you`re changing your vintage water heater or putting in a brand new one, one of the first questions that...
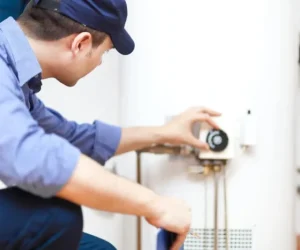
When your water heater stops working, knowing who to contact can save you time, money, and the frustration of cold...

You walk into your basement and find a puddle around your water heater. Your heart sinks. Water heater leaks can...

Have you ever became in your AC best to be greeted with the aid of using an unsightly scent? If...

Picture this It’s the middle of July, temperatures are hitting triple digits, and your air conditioner decides to quit. You’re...

Installing a brand new air conditioning machine is one of the maximum crucial choices for your house`s comfort and energy...
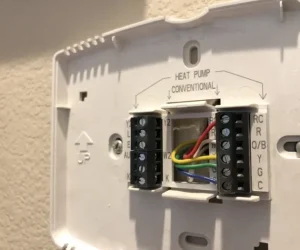
A thermostat is a small but essential device that controls your home’s heating and cooling system. It acts as the...