
March 12, 2026/
You just got a new heating and cooling system put in. The workers were there, for hours moving stuff around...

You just got a new heating and cooling system put in. The workers were there, for hours moving stuff around...
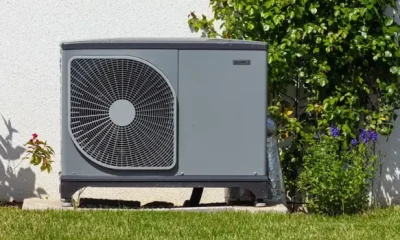
If you`re seeking out a reliable, energy-green/ efficient way to maintain comfortablance of your house year-round, heat pumps are a...
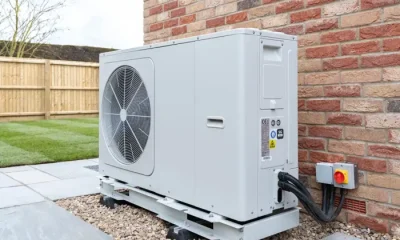
Home heating and cooling structures are expensive, so it`s comprehensible for house owners to assume this funding to closing them...
There are a lot of homeowners that doesn’t know what heating and cooling system they have in their home. People are...
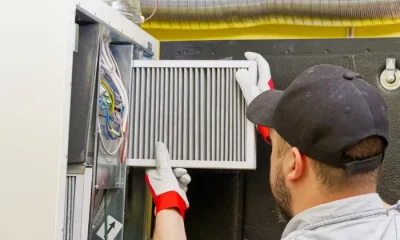
If you’ve got got ever checked out a furnace clear out out and questioned what does MERV mean on furnace...
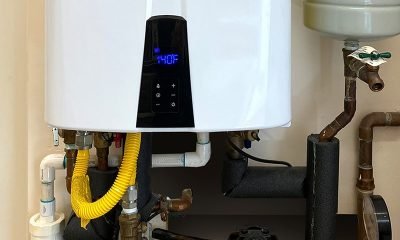
Thinking about ditching your old water tank? Good call. But before you jump in, here’s the honest truth — figuring...
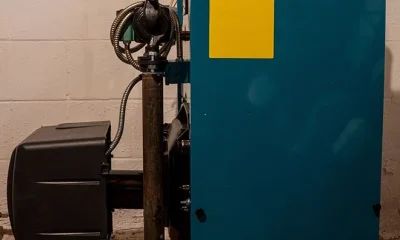
When deciding on a heating system, house owners need to make sure they`re getting some thing dependable and lengthy-lasting. Oil...

Are you really want to know how many watts does a furnace use? Electric and gas furnaces are usually one...
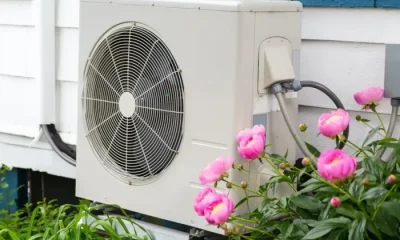
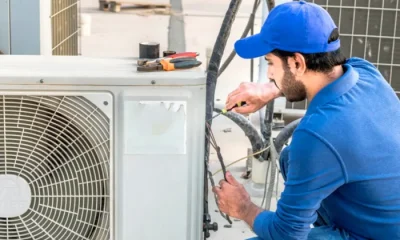
If you’ve got ever asked, How Does Heat Pump Work, you aren’t alone. Many owners get to know that heat...
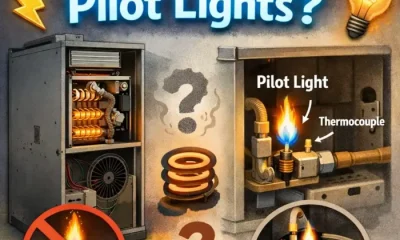
Many owners ask, do electric furnaces have pilot lights while their heating machine stops working. The confusion is very common...