
Installing a window air conditioner can appear intimidating at first, specially if you`ve in no way tackled an air conditioner installation task before. Yet with the proper preparation, tools, and step by step guidance, how to install a window AC unit turns into a practicable and profitable DIY task.
Whether you`re putting in place your first summer time season cooling machine or changing an antique unit, this manual will stroll you thru each level of AC unit installation — from making plans and measurements to securing the unit adequately and maximizing cooling performance.
Understanding Window Air Conditioner Installation

Before you start the real air conditioner install, it`s vital to apprehend what this form of machine is and the way it works.
A window air conditioner is a self-contained cooling unit designed to match right into a window beginning or specifically framed wall area. It attracts heat air from the room, cools it the usage of refrigerant and coils, and pushes the chilled air lower back inside, whilst expelling warm air outside.
Because all additives are in a single compact box, window devices are less difficult and much less costly to put in than primary air systems. However, right set up stays key to performance, safety, and lengthy lifespan.
Planning Your AC Unit Installation
Choosing the Right Window and Unit Size
The first vital step in the way how to install a window AC unit is choosing the precise window and unit length.
Measure the width and top of the window beginning. You want a sturdy, stage window with sufficient area to aid the unit securely. Window air conditioners are available in one-of-a-kind cooling capacities (measured in BTUs), and deciding on the proper length matters:
Too small, and the room won`t cool effectively; too large, and the unit will cycle too often, losing energy. Most producers offer sizing charts primarily based totally on room rectangular pictures to assist manual your selection.
Tools and Materials Required for Installation
Before any AC unit installation can start, collect the vital tools:
- A flat screwdriver and drill
- Level
- Tape measure
- Mounting brackets or aid shelf
- Weatherstripping or insulation foam
- Safety gloves and protecting eyewear
Preparing beforehand guarantees the set up technique is going easily with out interruption.
Read More: Window AC vs Portable AC.
Step by Step Guide to Installing a Window AC Unit
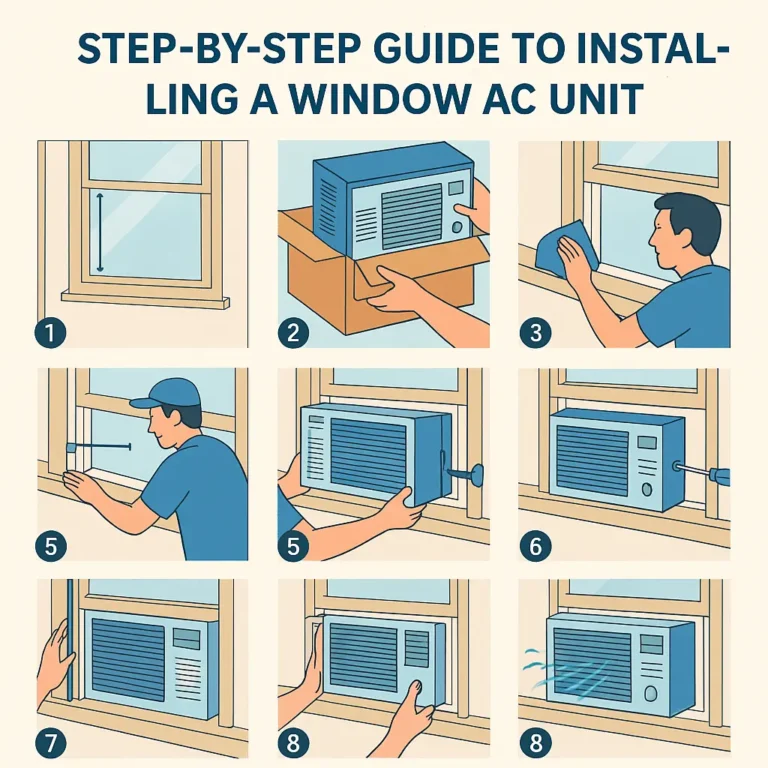
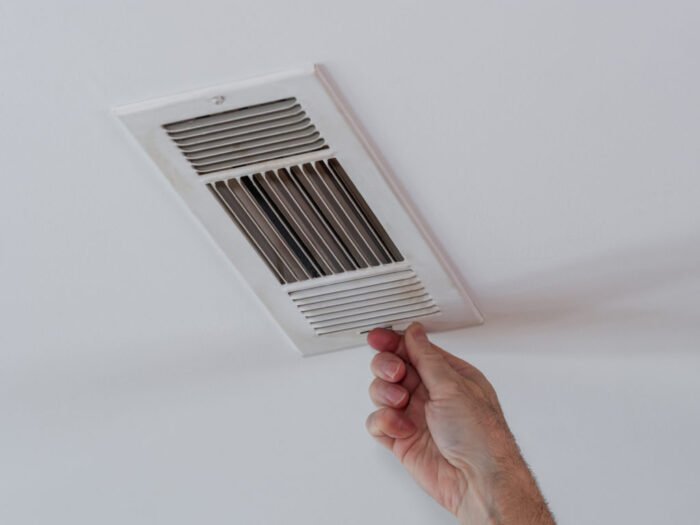
Prepare the Window Opening
Start from the opening of the window and cleaning the sill and frame. Remove any obstructions and check out the window for stability.
Lower the window sash to the height in which the window unit will rest. Use the tape diploma to affirm that the space aligns with the scale of your window air conditioner installation manual.
Install Support Brackets or Shelf
Some window AC devices require an out of doors manual bracket or shelf to preserve the unit`s weight. Follow the manufacturer`s instructions for installing the manual system outside the home.
Make superb it`s miles level and securely fastened. A poorly supported unit can motive damage to the window frame and reduce cooling overall performance.
Mount the Window AC Unit
With help from a second person, increase the window AC unit and location it into the window starting off. Slide the bottom of the unit into the song on the sash.
The unit must tilt slightly backward closer to the outside to allow water to drain farfar from the window. Use a level to verify this angle.
Once aligned, lower the window sash until it rests absolutely on top of the unit. Secure the sash to prevent it from being lifted thru manner of way of robust winds.
Seal Gaps and Add Insulation
After positioning the unit, fill any gaps most of the window frame and the AC unit the use of the furnished weatherstripping, foam panels, or insulation tape.
Proper sealing prevents warmth air from moving into and cool air from escaping, appreciably improving the overall performance of your air conditioner installation.
Secure Safety Brackets and Finish Installation
Attach any element panels or window brackets steady with the manufacturer`s instructions. These provide extra lateral stability and make certain your unit remains strong sooner or later of operation.
Finally, plug the unit proper right into a dedicated electric powered outlet. This step is crucial: window AC devices draw big power, and the use of an overloaded or unsuitable outlet can create safety issues.
Common Mistakes to Avoid When Installing a Window AC Unit
One of the most now no longer unusualplace mistakes in air conditioner installation is failing to strong the unit properly. A loose installation can reason rattling, air leaks, and reduced cooling overall performance.
Another mistakes is skipping proper sealing. Gaps throughout the unit may also moreover seem small, but they allow warmth air seep in and growth your electricity bills.
Also make certain the window frame and manual form are robust enough. If your window is inclined or damaged, remember reinforcement in advance than installing a window AC.
After Installation: Testing and Maintenance
Once your window air conditioner installation is complete, it`s time to check the unit.
Turn the AC on and allow it run via a cooling cycle. Check for even airflow and verify that the room reaches the favored temperature. Listen for uncommon noises and display for vibrations that would imply instability.
Regular maintenance, which include cleansing filters and checking for debris, will expand the existence of your unit and assist it run extra effectively at some point of the cooling season.
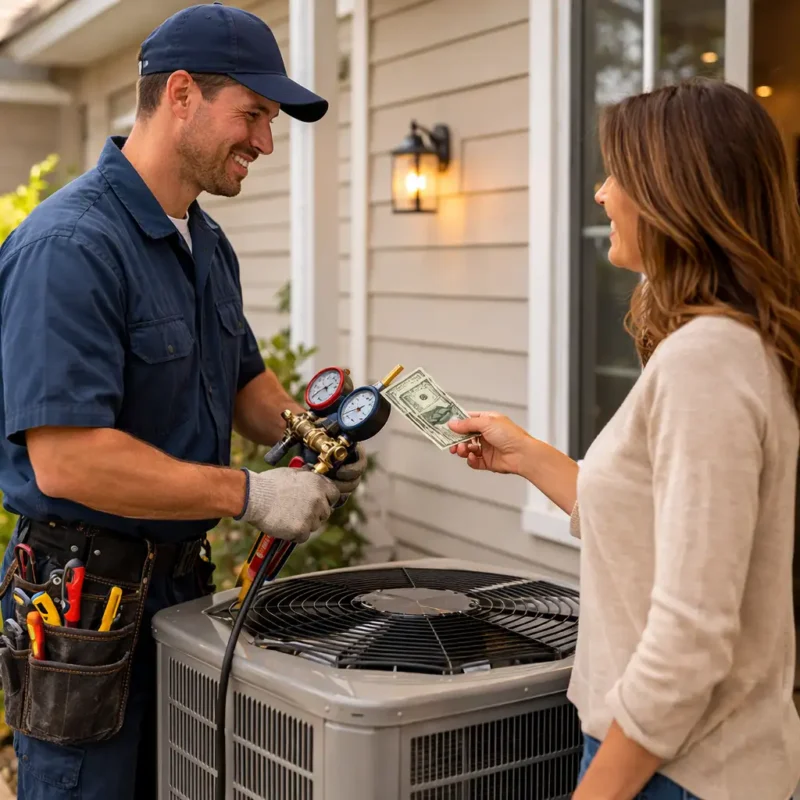
Can You Do Same-Day Window AC Installation?
Yes — a window air conditioner installation can regularly be finished the equal day you buy the unit, furnished you’ve got got the proper gear and preparation. Most installations are finished in only some hours, and plenty of owners discover that a well-deliberate setup may be carried out earlier than dinner.
However, in case your window shape desires reinforcement, or you`re uncomfortable with any step, it`s a great concept to touch specialists like Hutchinson Heating and Air for secure and green service.
Safety Tips and Precautions
Weight Distribution: Be cautious when lifting the AC unit, as these units can be heavy. Consider asking for help when positioning the unit.
Electrical Connections: Ensure the electrical connections are secure and that the power cord is not damaged.
Secure the Window: Always lock the window after installation to prevent accidental opening.
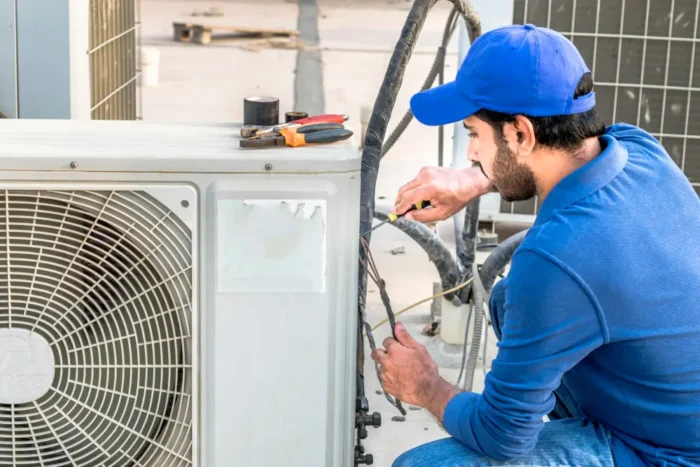
When to Call a Professional
While maximum owners can discover ways to install a window AC unit, there are instances whilst expert assist gives peace of thoughts and long-time period reliability. If your window is strangely large, uneven, or damaged, or in case you`re putting in a high-ability unit, expert set up guarantees right guide and airflow. Additionally, in case you come upon electric concerns, a certified technician offers secure solutions.
At Hutchinson Heating and Air, we offer professional air conditioner set up offerings that assure accurate fit, right sealing, dependable overall performance, and power-saving operation.

Conclusion
Learning the way to deployation a window AC unit empowers you to take manipulate of your property consolation. With right planning, cautious measurement, and interest to detail, your air conditioner set up task may be easy and successful.
From choosing the proper length unit to sealing gaps and making sure stable help, each step matters.
For owners in Temecula and Murrieta who need peace of thoughts and professional assist, Hutchinson Heating and Air gives expert help to make your AC unit set up secure, efficient, and lengthy-lasting.
Need help installing your window AC unit?
Hutchinson Heating and Air offers reliable, fast AC installation in Murrieta, Temecula and nearby areas.
FAQs about how to install a window AC unit
How long does it take to install a window AC unit?
Most wellknown installations take more than one hours whilst the window and electric outlet are equipped.
Do all home windows aid a window AC set up?
Not always. Double-hung home windows that open absolutely and feature robust sills paintings best. Casement or sliding home windows may also want unique brackets or aid.
How tough is it to install a window air conditioner?
Installing a window AC unit is usually honest with a few primary gear and preparation. Most owners can carry out this task themselves. However, expert assistance is sensible if structural or electric complexities arise.
Can everyone deployation a window AC?
Yes, everyone with primary DIY abilties and secure lifting help can deployation a window air conditioner. Following the step by step the way to deployation a window AC unit manual guarantees accurate placement and sealing.
Can I install a window AC with the aid of using myself?
Yes, many owners deployation their personal units. But if you`re uncertain approximately leveling, sealing, or electric connections, expert assistance is recommended.
What length AC unit need to I install?
Choose a unit sized in your room`s rectangular footage. Too small will cool poorly; too huge may also cool with out dehumidifying properly.
How do I ensure my unit drains correctly?
Ensure the mounted AC tilts barely outward. Proper drainage prevents moisture buildup within the house.
Do window air conditioners have to be vented outside?
Yes, window ACs vent hot air outside; proper venting is essential for cooling and efficiency.